Depth of Field
Relevant code:
src/core/cameras/ThinlensCamera.hpp
Depth of field can be added to a scene by use of the thinlens camera. It offers various parameters to control the size of the aperture, the aperture kernel, distance of the focal plane, the chromatic aberration and the cateye effect.
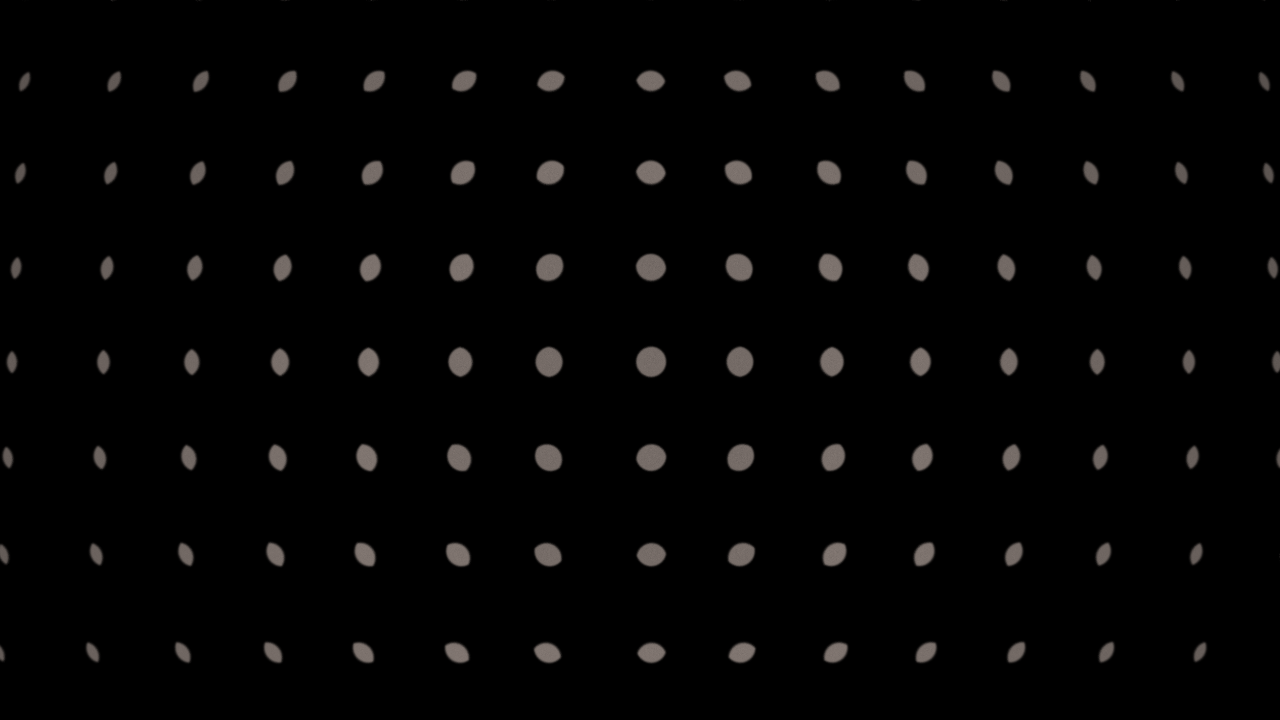
All images in this section are shot on the same "bokeh test scene". It features a grid of a few hundred reflective spheres lit by a small, distant light source. The scene rendered with a pinhole camera is shown below:
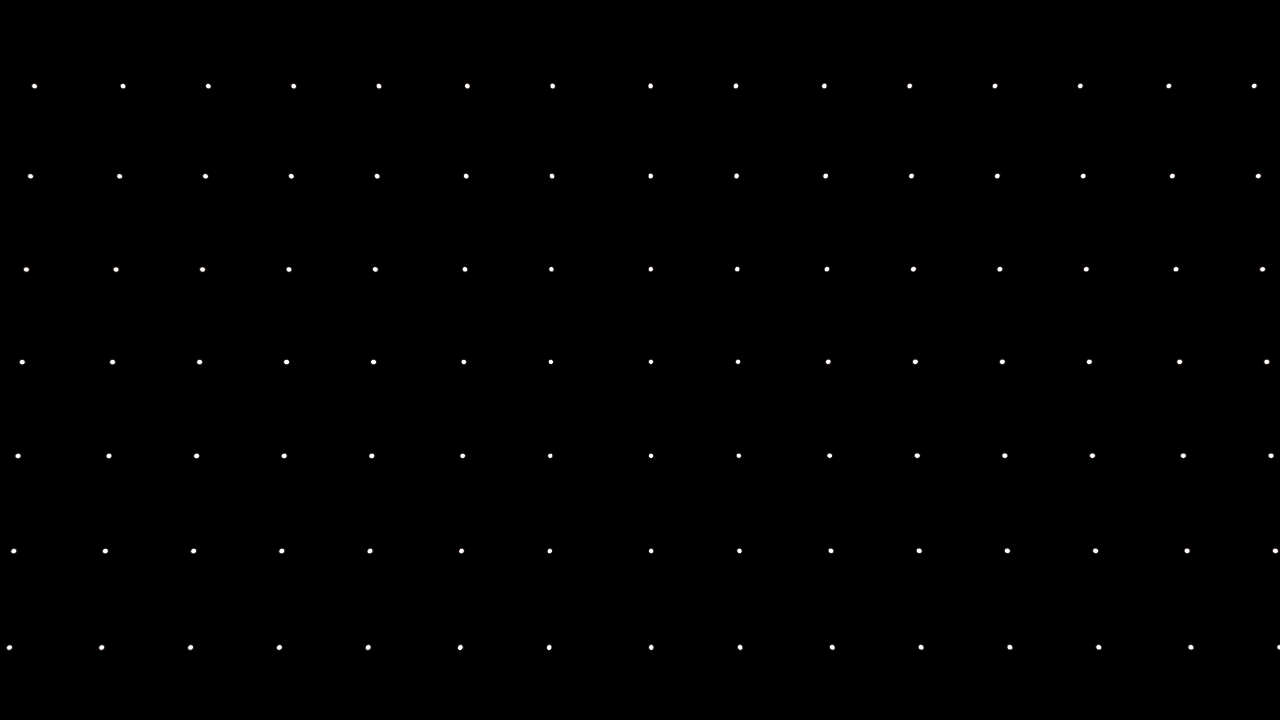
Bokeh test scene with pinhole camera
Aperture size
The aperture size as well as the distance of the focal plane are given in scene units. Generally, a larger aperture will result in a blurrier image. Points on the focal plane will always remain in focus, however.
The images below show the effect of changing the size of the aperture:
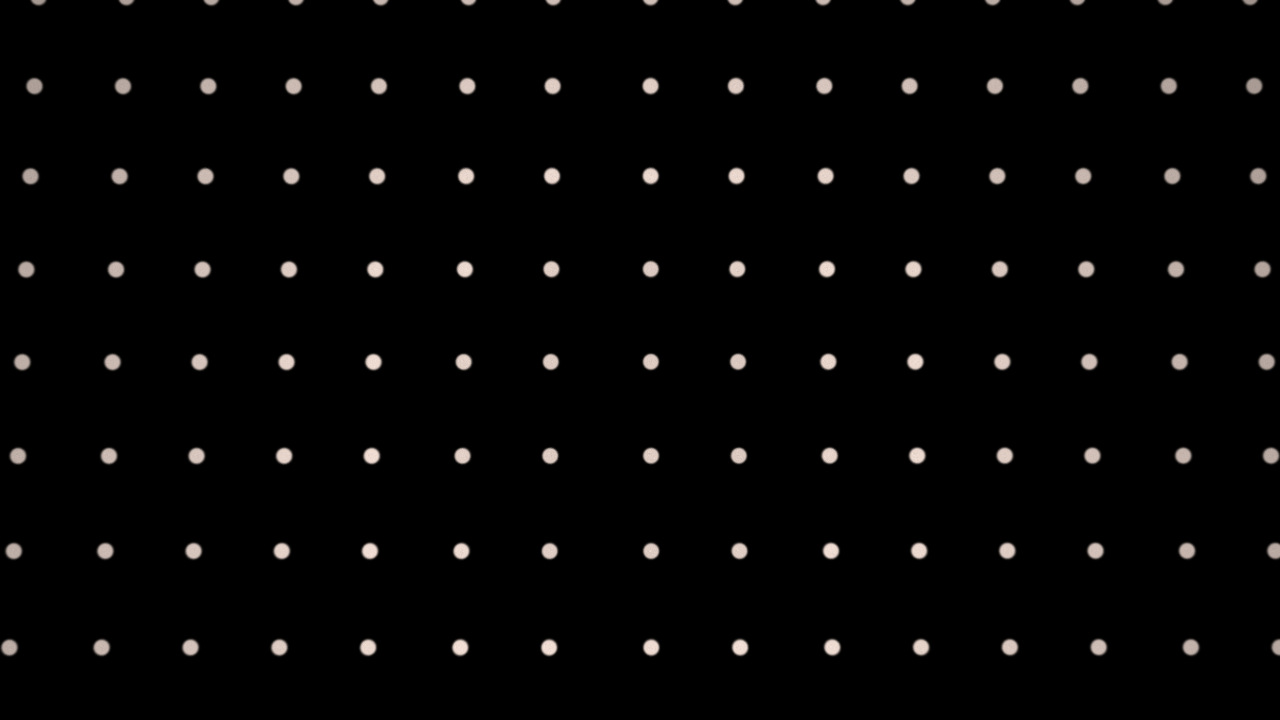
Camera with small aperture
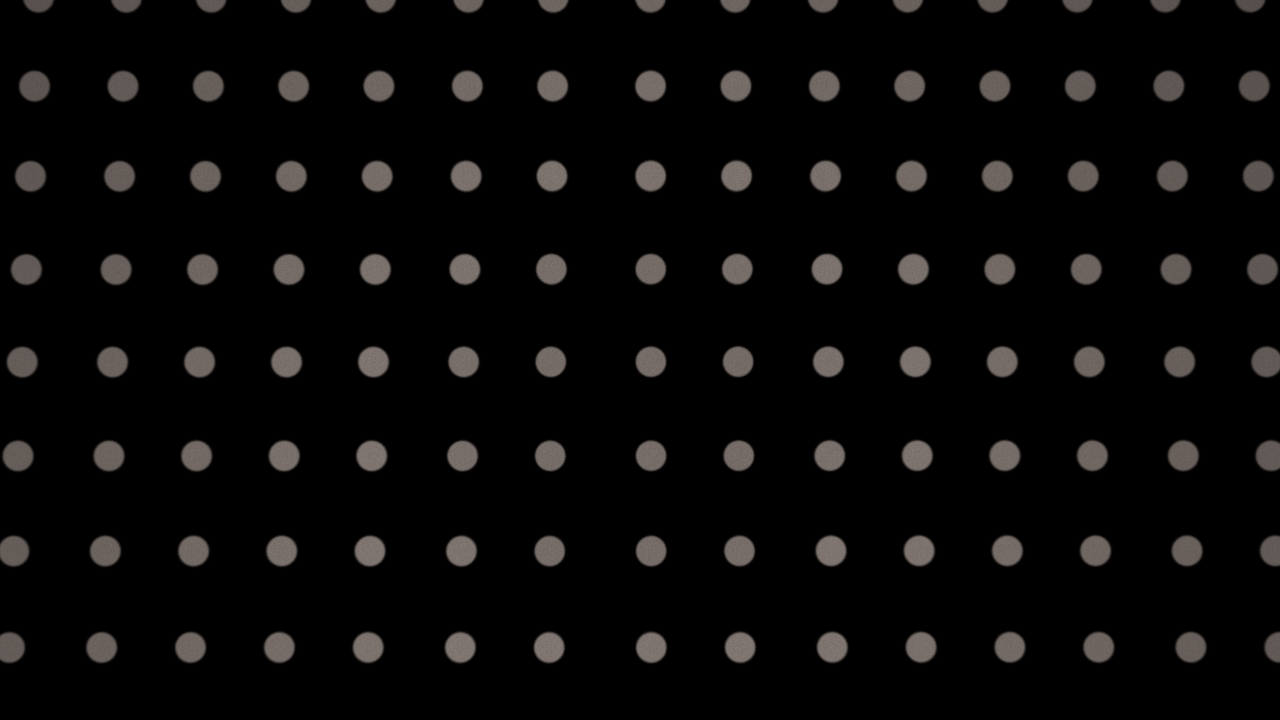
Camera with large aperture
Aperture kernel
The images above use the default aperture in the renderer, which is a unit disk. Note that this is only the default value - the thinlens camera accepts any texture for the aperture kernel. For example, we can use the built-in "blade" procedural texture to create a hexagonal bokeh:

Camera with hexagonal aperture
If we wanted to, we could also change the parameters to the procedural to create apertures with more or less blades.
We can of course also use a bitmap texture to shape the bokeh. In the image below, a heart shaped stencil was used for the aperture:

Camera with heart shaped aperture
Chromatic aberration
To mimic real-life imperfections in the lens system, the thinlens camera also supports a heuristic to produce chromatic aberration in the image.
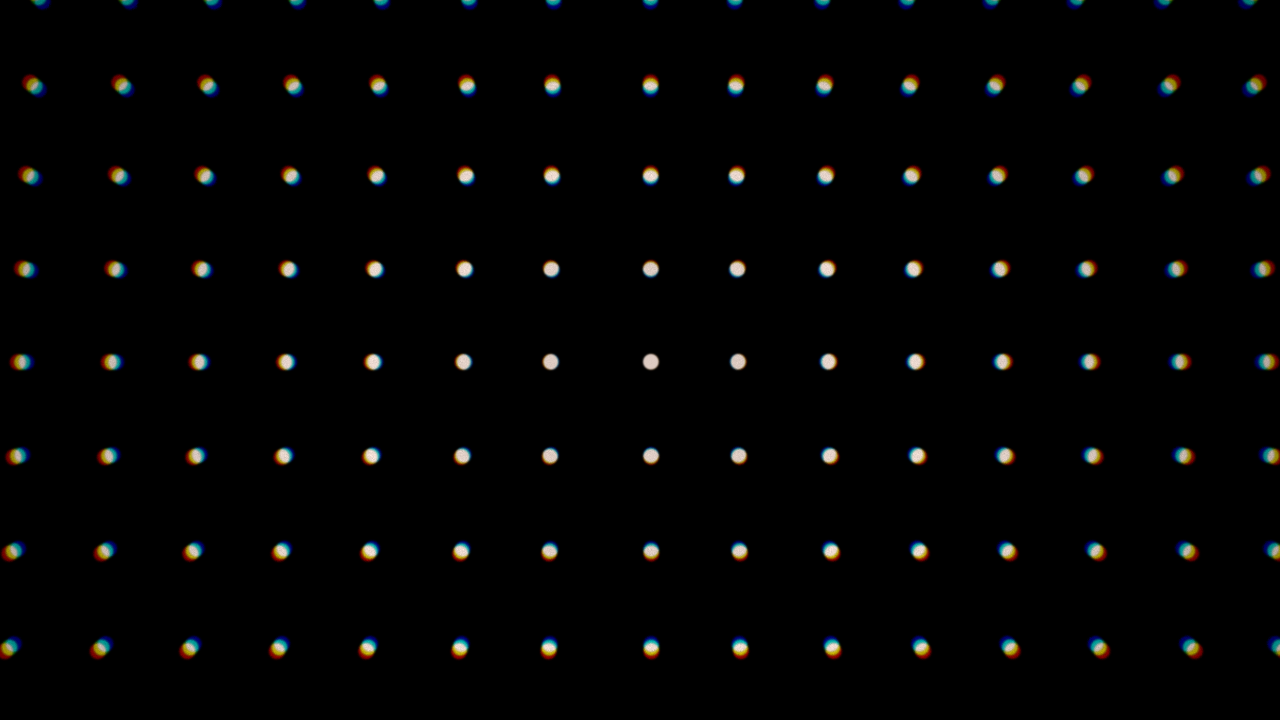
Essentially, the aberration effect works by considering three apertures instead of just one: A red, a green and a blue aperture. In the center of the image, the apertures are perfectly on top of each other and together produce a white aperture. Towards the borders of the image however, the apertures shift with respect to each other. Where they overlap, the aperture is still white, but at the borders of the aperture kernel the r/g/b apertures separate and produce colored fringing. This is of course very approximate, but it mimics the coarse behavior of real-life chromatic aberration.
The image below demonstrates the method: On the right, we can see the three apertures overlap to produce a white aperture kernel. Towards the left, the apertures shift and produce colored fringing:

Illustration of chromatic aperture shift
For sampling, a random aperture is selected and sampled to produce the ray. The ray throughput is then computed by evaluating all three apertures at the sampled aperture point. If there is little aberration, rays will still have a monochromatic throughput of 1. If there is a lot of aberration however, more rays will be generated that only have non-zero throughput in one of the color channels. This produces colored noise and leads to longer render times, and large aberration is generally discouraged.
Camera with strong chromatic aberration
Cateye effect
Real-life cameras also exhibit an effect known as "cat-eye". It is caused by an imperfection in the lens system, where points on the sensor closer to the border do not see the entire aperture, but more of an "oval" shape. This also causes the characteristic darkening of the image towards the borders, commonly known as vignette.
The thinlens camera models this effect by adding a second diaphragm between the primary aperture and the sensor. The shape, size and distance of the secondary diaphragm can be controlled to maniplate the shape of the cateye effect.
An example render with strong cateye effect is shown below:
Camera with cateye effect
Finally, we can combine all of these effects to produce "the world's worst lens". The image below shows a combination of the depth of field, chromatic aberration and cateye effects in extreme configurations in one image. Note the strong vignetting and chromatic aberration:
The world's worst lens
Bump Mapping
Relevant code:
src/core/bsdfs/Bsdf.hpp :: setupTangentFramesrc/core/primitives/Mesh.hpp :: tangentSpacesrc/core/materials/BitmapTexture.hpp :: derivatives
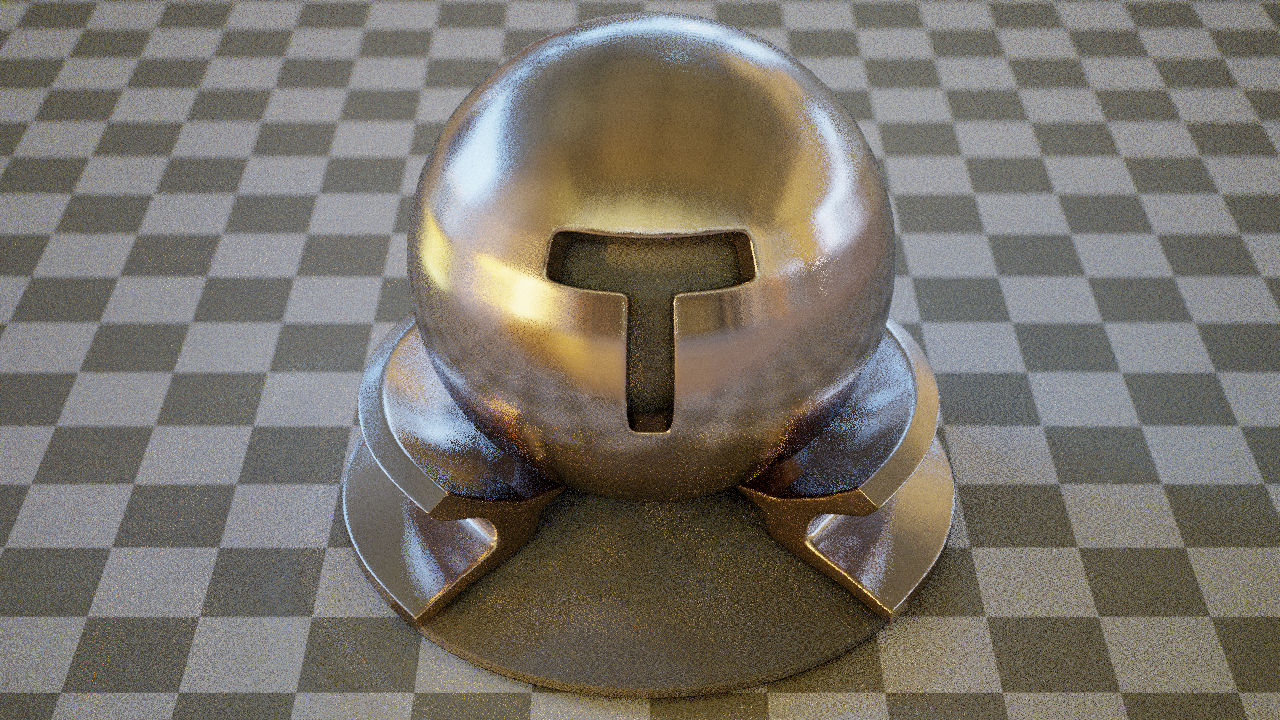
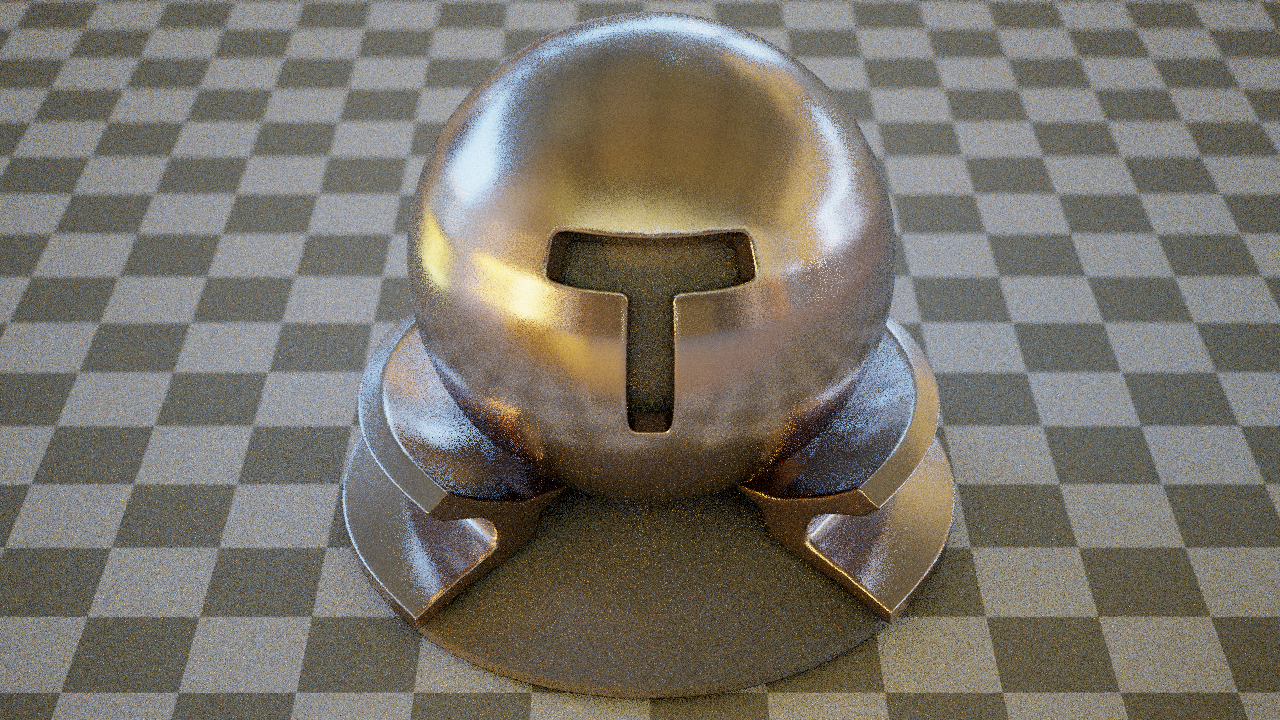
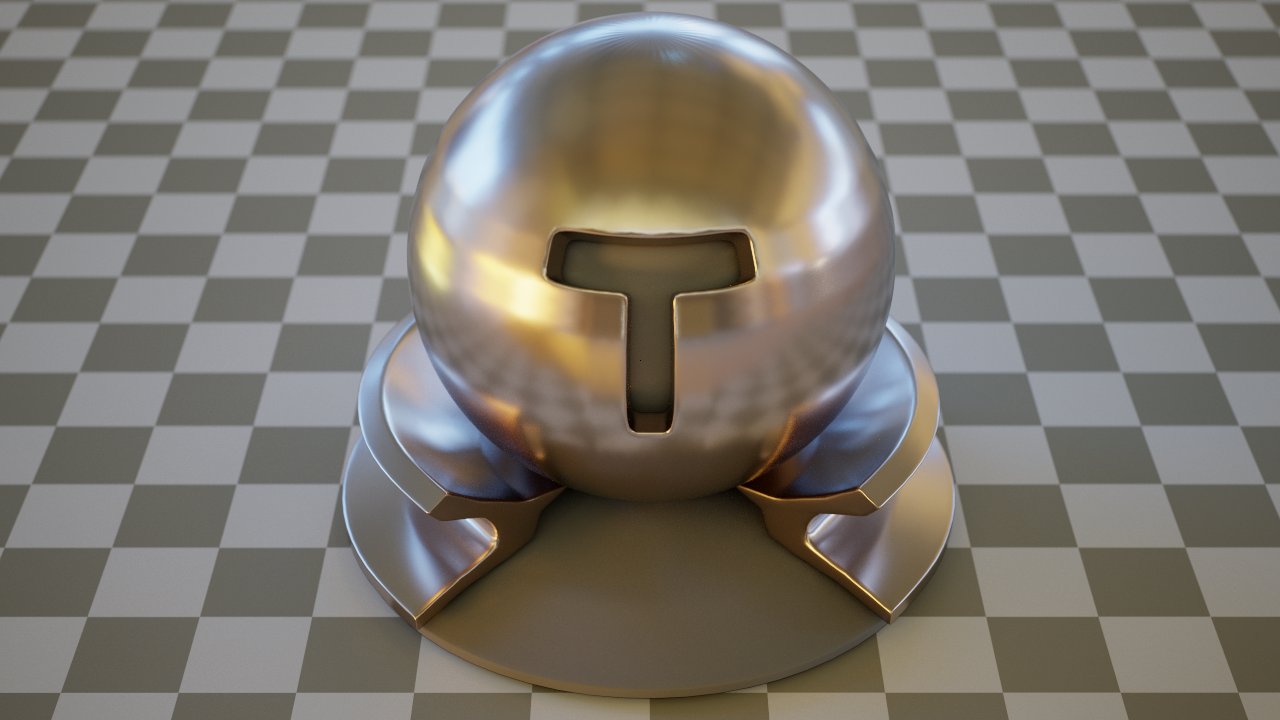
To enhance surface detail without the cost of adding highly detailed geometry, I implemented support for bump mapping to manipulate shading normals. The implementation is based on Jim Blinn's paper "Simulation of wrinkled surfaces".
To enable bump mapping, the primitive used must support tangent space computation (currently all primitives) and the texture used must support texture space derivatives (currently only the bitmap texture).
Note that a naive derivative implementation will directly differentiate the texture. Since textures are linearly interpolated, the derivatives achieved this way are piecewise constant within a texel, leading to "blocky" artifacts in the shading. I am computing the derivatives of a cubic interpolant instead, leading to smooth derivatives across the surface.
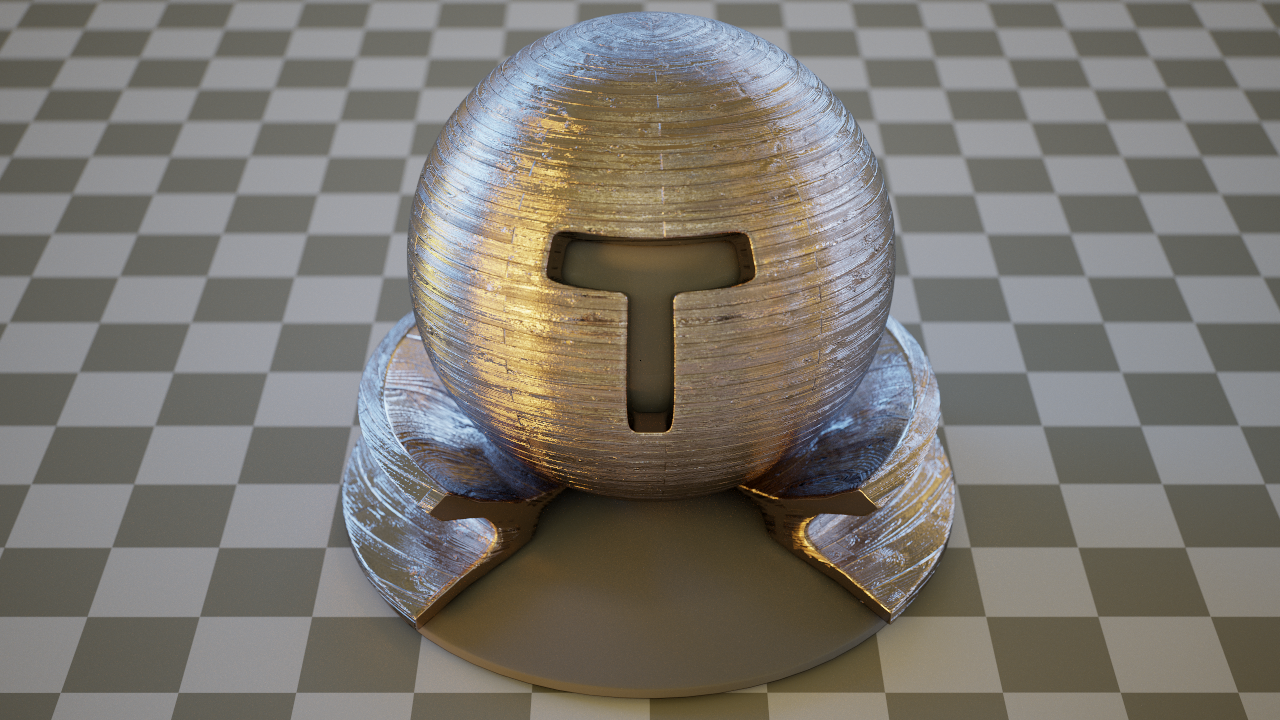
Conductor BSDF with high resolution bump map
Stratified Sampling
Relevant code:
src/core/sampling/SampleGenerator.hpp
To generate stratified samples, I am using the Sobol QMC sequence. The Sobol sequence has many advantages: It requires very little state, is efficient to compute, supports deterministic random access and is well stratified over many dimensions. In the code, a particularly efficient implementation by Leonhard Gruenschloss is used. It is using direction numbers computed by S. Joe and F. Y. Kuo in "Constructing Sobol Sequences with Better Two-Dimensional Projections".
One downside of the Sobol sequence is that the sample chains start out extremely correlated. This leads to disturbing banding artifacts in the render that upset the adaptive sampling and are visually unpleasant. Directly using the Sobol sequence can lead to an image such as this one:
Naive Sobol sequence with strong banding
The Gruenschloss implementation supports using a "scramble", which permutes bits of the sequence to produce a new, scrambled chain that has the same properties. If each pixel receives a different scramble, this helps break up banding artifacts in the render:
Sobol sequence with per pixel scramble
Unfortunately, even this is not enough to remove visible correlation between adjacent pixels. It may not be apparent from the still image, but when watching the image render incrementally, significant features can suddenly pop in that were previously missing, or parts of the image that are perceived as prominent lighting features can turn out to be correlation and dissapear with more samples. This is again bad for the adaptive sampling, but it is also disturbing for the user: A low spp render is not representative of the final render, since significant features can appear or disappear - the error is worse than just uniform noise.
Several sources advise skipping large intervals of the sequence to remove correlation, but it is not clear whether this preserves the properties of the Sobol generator. In my implementation, I am instead adding one additional permutation to the sequence to break up artifacts.
The permutation works as follows: The Sobol sequence is partitioned into blocks of 256 successive samples, and each pixel receives a random offset into the first block.
For example, one pixel could receive an offset of 240 in the sequence. It will proceed to use samples 241, 242, ....., 255 and wraps around to 0, 1, 2, .... until it reaches sample 239. It then proceeds into the next 256-sample block, where it uses the samples (256 + 240), (256 + 241), .....
Every 256 samples, all pixels will have used the same samples from the sequence, meaning that the good properties of the Sobol chain are preserved. However, the order of the samples is different for each pixel, which removes the remaining visible correlation artifacts completely.
The resulting image achieved with this implementation is shown below:
Sobol sequence with improved permutation
And finally, the ground truth at 2048 spp. Feel free to compare all three images with this one:
Ground truth at 2048